No Products in the Cart

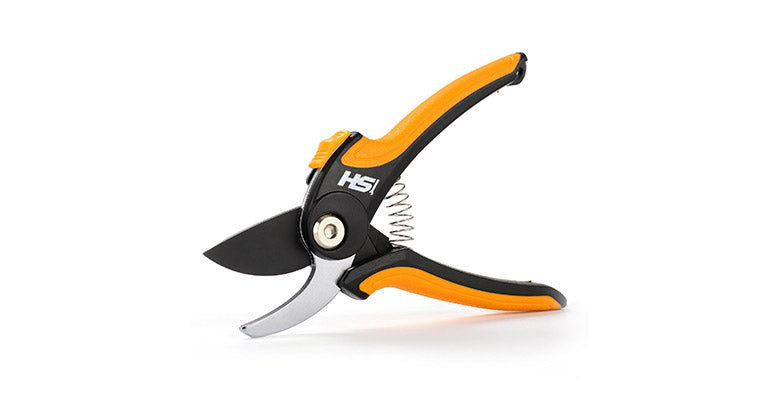
Keeping your tools in tip-top shape is highly important to ensure they’re always working their best. When it comes to garden shears, arguably even more so. Cutting down stems or branches in the case of loppers, often wear down their efficiency, making you have to work even harder. the entire point of tools is to make sure you work less, and more efficiently, isn’t it? This article will serve as your guide on how to ensure your garden shears, loppers or pruners are always working their best. We’ll cover how to clean them, how to dismantle them, and how you can care for them. Let’s jump right in.
Before we jump into the how-to clean your garden tools, let’s make sure we have all the equipment needed to get the job done. Some of these are optional, but we’ll cover it all to be comprehensive about garden tool care.
Before anything else, the first thing you want to do is remove the initial debris that might have built up over time on your garden shears, loppers, or pruners. Use your wire brush to give your shears a good cleaning.
If your garden shears or loppers have found themselves with a build-up of grime, you could brush off the excess with some steel wool. If you’re still struggling, some solvent will help you get rid of the grime build-up.
In order to make sure you don’t leave behind any additional grime or dirt on your garden tools, you’re going to want to dismantle them. This will make sure you’re not missing any of the small nooks and crannies. This process will vary, depending on the type of garden shears or loppers that you have. Ultimately, they’re all essentially the same. Remove any visible screws, make sure you keep these in a safe place and remove the nut or screw that holds the two blades together. Once you do this, the coil will slip off and you’re basically good to go.

Now that you’re wiped down the excess dirt, dismantled your garden shears and/or loppers, it’s time to give it that much needed deep clean. This is where you get your warm, soapy water ready. Make sure you brush down each part of your garden tools in the warm soapy water. A toothbrush works great here.
If you find that you still have resistant rust or build-up, you can now go in with an additional scrub with steel wool or even sandpaper. Before we give the blades a sharpen, we must be sure that all the components of the garden shears or garden loppers are completely clean.
Before we move onto the next step in getting your garden shears to be brand new again, you’re going to put them back together. Gather all the individual parts and get started in the assembly. Make sure you tighten the pivot nut. If this isn’t tightened adequately, the blades will simply drift apart when trying to cut something.

Now that your garden shears are clean and dry, it’s time to give them a good sharpening. Together with the deep clean, this process will ensure your garden shears are working efficiently, without you having to compensate by working harder.
Whether you’re sharpening garden shears or loppers, they all function in a very similar manner. The two surfaces of the blade meet at the base and cut away to the tips. They shear twigs, branches, and leaves with a scissor action.
When you resharpen these blades along the bevel, you can get them so sharp that they'll easily cut paper with precision. Whether you’re using a mill or a file or even a scissor sharpener, make sure you follow any instructions that come with it. Alternatively, let’s go through some of the ground rules to sharpening your garden shears safely and correctly.

Did you know that how you position shears whilst sharpening them makes a vast difference? IF your shears and file are not correctly positioned, you’ll find yourself struggling to cut through anything.
The blades should face away from your body for both safety purposes, but also to comfortably hold the handles as you file down the blades. Once in position, open the shear blades wide with the beveled edge of the blade facing up. If you have a bench vice, this can be used to hold the garden shears in place for further safety and precision.
It is indeed possible to sharpen your garden shears with scissors or a knife sharpener. But if you’re going to do this, make sure you leave it dismantled before.
Sharpening your garden tools with a file might be a better option for more precision and freedom of movement.
Hold the file firmly in your hand and place the flat side at a 20-degree angle along the edge of each blade. Move the file forward in a straight motion from the middle where the screw holds the two blades together out toward the pointed end of the blade.
The importance of the correct motion, ensures you don’t work yourself into a standstill for minimum results. Achieve the best outcome by following these tips:
Last, but not least, it’s time to oil it up! Keep things moving steadily by lubricating your tools to prevent rust.

If you found this article helpful, stick around for more helpful tooltips!